CNC Machining Electronics Enclosures: Materials, Tolerances & DFM
A machined enclosure is one of the few parts where every choice — material, wall thickness, the lid joint, the threads — shows up in the final fit. Done right, a milled aluminium box beats die casting on lead time and extrusion on internal geometry. Done wrong, it is a scrap bin of warped lids and seized screws. Here is how to brief one so it machines right first time. For the wider process picture, see our CNC milling service.
Why Machine an Enclosure Instead of Casting or Printing
For low-to-mid volumes, complex internal ribs, sealed compartments, tight panel fits or EMI shielding, CNC machining from a solid block is usually the fastest path to a real enclosure. Die casting needs hard tooling and a long lead; extrusion caps what you can do internally; 3D printing is fine for a look-and-feel prototype but rarely meets the fit, flatness or shielding a production box demands. Machining gives you internal features, threaded bosses and a precise lid seat in one setup. If you are weighing processes for a new part, our machining vs 3D printing guide puts the cost and tolerance curves side by side.
What to Make the Box From
The enclosure material is mostly a question of weight, shielding and environment — not cost.
| If the enclosure must… | Start with | Watch out for |
|---|---|---|
| Be light, look good, shield moderately | Aluminium 6061 / 6082 | Anodize adds microns — account for it on fits |
| Be stiff at thin wall | Aluminium 7075 | Less corrosion resistance, more cost |
| Shield hard / resist corrosion | 304 / 316 stainless | Heavier, work-hardens, slower to cut |
| Block RF as a conductive can | Brass or tin-plated aluminium | Brass is heavier and pricier |
| Insulate or be transparent-ish | PEEK / polycarbonate | No shielding; lower stiffness |
Aluminium is the default for a reason — it machines fast, anodizes cleanly, and is light enough that wall thickness is not a weight problem. The grade choice and finishing detail are in our aluminium CNC guide; the full family comparison is in the materials overview.
Wall Thickness and the Warp Problem
The single most common enclosure failure is a wall that is too thin: it chatters while cutting, then warps when the internal stress relaxes, and the lid never sits flat. Practical minimums:
| Material | Practical min wall | Comfortable wall |
|---|---|---|
| Aluminium 6061 / 6082 | 0.8–1.0 mm | 1.5 mm |
| Aluminium 7075 | 1.0 mm | 1.5–2.0 mm |
| Stainless 304 / 316 | 1.5 mm | 2.0 mm |
| Engineering plastic | 1.5 mm | 2.5 mm |
If weight forces a thin wall, stiffen it with internal ribs or pockets instead of going below the minimum. A few well-placed ribs buy more stiffness than a blanket increase in wall stock. The cost and design logic is in our cost-reduction guide and the design guide.
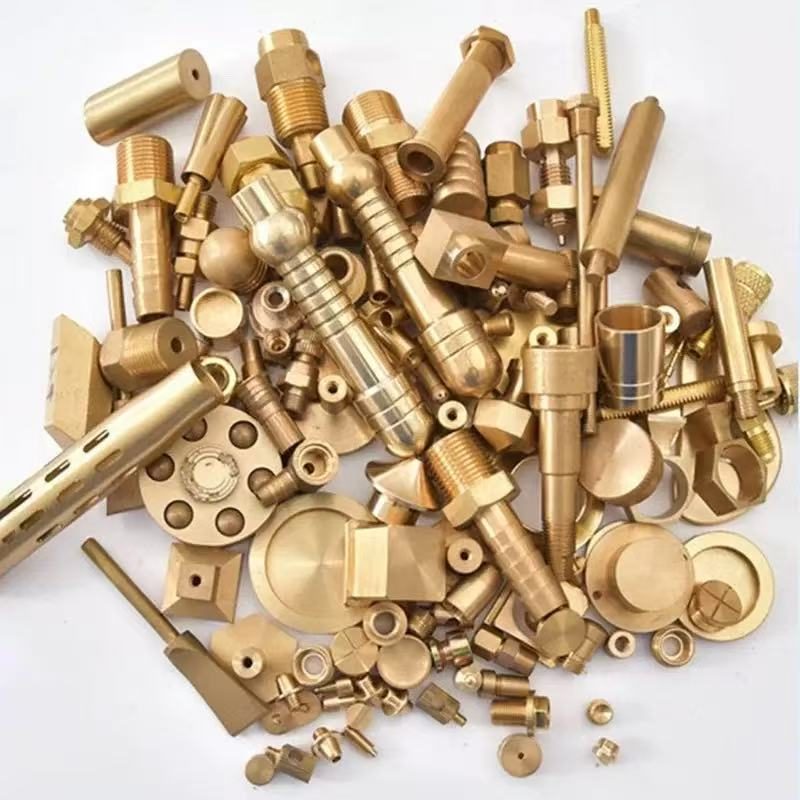
Type II clear and colour anodize for housings.
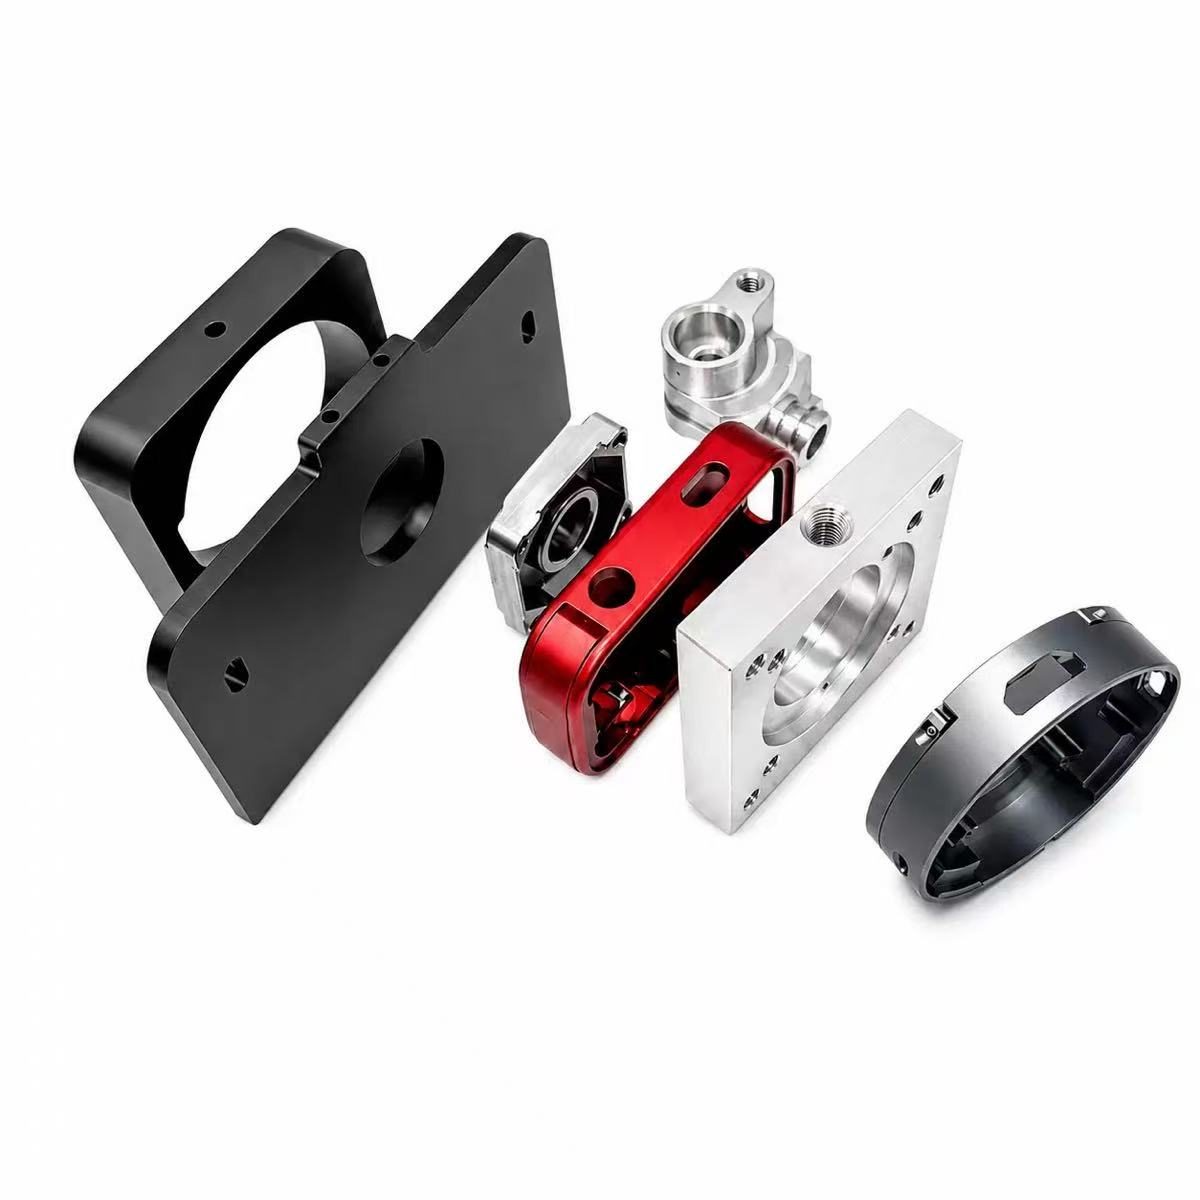
Brackets and small housings in 6061/6082.
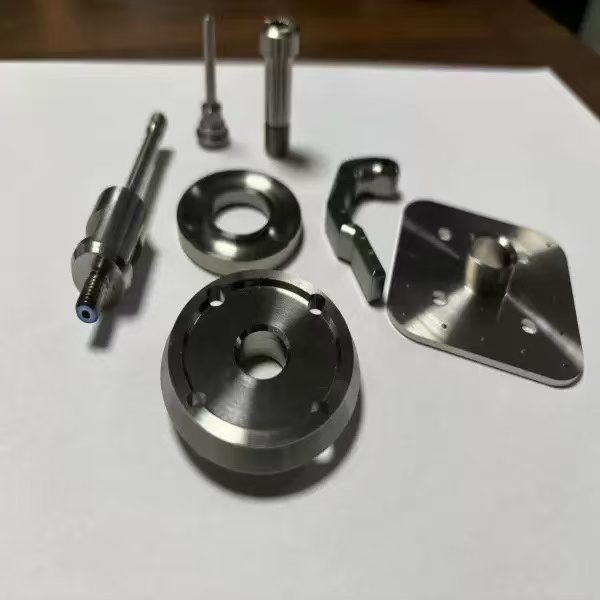
304/316 boxes for corrosion or shielding.
The Tolerances That Actually Matter on a Box
Spend tight tolerance on the lid seat and the panel cut-outs. Spend it everywhere else and you pay for a box you do not need.
| Feature | Hold it to | Why |
|---|---|---|
| Lid seating face flatness | 0.05 mm over the flange | A warped seat leaks EMI and looks cheap |
| Panel cut-out position | ±0.05 mm | Display / connector must drop in |
| Threaded boss location | ±0.1 mm | Lid aligns with the holes |
| External envelope | ISO 2768-m | General tolerance is enough |
| Surface finish on seat | Ra 1.6 µm | Clean gasket contact, no tool marks |
The full numeric tables and the tolerance-cost curve are in the CNC tolerance chart; the coating thickness and salt-spray hours that change a fit are in the surface finish comparison.
Five DFM Calls That Keep an Enclosure From Becoming Scrap
1. Pick the wall from the table, not the weight target
Start at the comfortable wall (1.5 mm aluminium) and only go thinner with ribs if weight is the constraint. A wall below the practical minimum is the fastest way to a warped lid. Our design guide lists the features that move a quote.
2. Machine the EMI groove into the flange
A solid metal box shields; the lid joint is the leak. A continuous knife-edge or a gasket groove machined into the flange gives the conductive contact that blocks leakage, and we hold the seating face flat so the gasket seats everywhere. Tell us the gasket section and we will cut the groove to match.
3. Decide threads before anodizing
If the box is anodized, tap the holes first or mask them — the coating adds a few microns that will strip a tap or seize a screw. For a lid you open often, press in helically-coiled or solid threaded inserts instead of tapping the aluminium. The anodize rules are in the aluminium guide.
4. Add internal bosses, not blind standalone holes
Threaded mounts that float in thin wall are weak and hard to locate. A boss that ties into the wall or a rib gives the thread something to hold and keeps the lid lined up. It also gives the mill a reliable datum for the drilling cycle.
5. Send the drawing with the lid defined
The lid seat, the gasket and the thread choice are the parts that get an enclosure rejected at assembly. A drawing that calls out the seating flatness and the insert spec lets us return DFM feedback in 24 hours and run the box and lid as a matched pair — which is how a first article passes instead of going back for rework. For early-stage work our prototyping page covers how we ramp from one box to a batch.
Electronics Enclosure Questions
Is CNC machining the right way to make an electronics enclosure?
What wall thickness can CNC machining hold on an enclosure?
How are threads handled in a machined enclosure?
Can a machined enclosure provide EMI shielding?
Got an enclosure that keeps coming back for rework?
Send the drawing with the lid seat and thread spec called out. We'll return DFM feedback in 24 hours and machine the box and lid as a matched pair — flat seat, clean threads, gasket groove cut to your section.